8.0 KiB
OpnForm


An open-source form builder. It's an alternative to products like Typeform, JotForm, Tally etc.
Features
- No-code form builder, with infinite number of fields & submissions
- Text inputs, Date inputs, URL inputs, Phone inputs, Email inputs, Checkboxes, Select and Multi-Select inputs, Number Inputs, Star-ratings, File uploads & more
- Embed anywhere (on your website, in your Notion page, etc)
- Email notifications (for both form owner & form respondents)
- Hidden fields
- Form passwords
- URL form pre-fill
- Slack integration
- Webhooks
- Form logic
- Customize colors, add images or even some custom code
- Captcha form protection
- Form closing date
- Limit the number of submissions allowed
And much more!
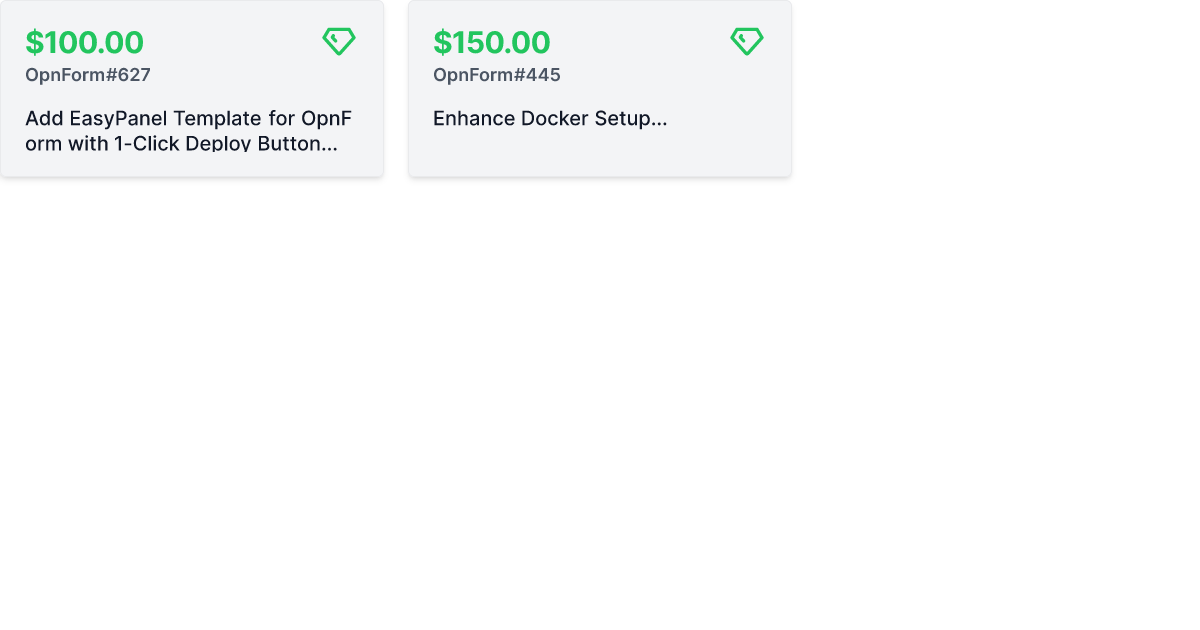
Bounties
Get paid for contributing to OpnForm! Here are our open bounties:
Getting started with OpnForm
The easiest way to get started with OpnForm is with the official managed service in the Cloud.
It takes 1 minute to try out the builder for free. You'll have high availability, backups, security, and maintenance all managed for you.
Requirements
- PHP >= 8.0
- MySQL/MariaDB or PostgreSQL
- Node.js and NPM/Yarn/... to compile assets
Installation
Docker Installation 🐳
OpnForm can be easily set up using Docker. Pre-built images are available on Docker Hub, which is the recommended method for most users.
Prerequisites
- Docker
- Docker Compose
Quick Start
-
Clone the repository:
git clone https://github.com/JhumanJ/OpnForm.git cd OpnForm -
Set up environment files:
cp .env.docker .env cp client/.env.docker client/.env -
Start the application:
docker-compose up -d -
Access OpnForm at http://localhost
🌐 Server Deployment Note: When deploying to a server, configure the app URLs in both
.envandclient/.envfiles. SetAPP_URLin.env, and bothNUXT_PUBLIC_APP_URL&NUXT_PUBLIC_API_BASEinclient/.env.
Customization
- Environment Variables: Modify
.envandclient/.envfiles to customize your setup. For example, to enable email features, configure a supported mail driver in the.envfile.
Upgrading
- Check the upgrade instructions for your target version in the documentation.
- Update your
docker-compose.ymlfile if necessary. - Apply changes:
docker-compose up -d
Initial Login
After installation, use these credentials to access the admin panel:
- Email:
admin@opnform.com - Password:
password
⚠️ Change these credentials immediately after your first login.
Note: Public registration is disabled in the self-hosted version. Use the admin account to invite additional users.
Building from Source
For development or customization, you can build the Docker images locally:
-
Build the images:
docker build -t opnform-ui:local -f docker/Dockerfile.client . docker build -t opnform-api:local -f docker/Dockerfile.api . -
Create a docker-compose override file:
cp docker-compose.override.yml.example docker-compose.override.ymlEdit the
docker-compose.override.ymlfile to use your locally built images:services: api: image: opnform-api:local ui: image: opnform-ui:local -
Start the application:
docker-compose up -d
This method allows you to make changes to the source code and rebuild the images as needed.
Using Laravel Valet
This section explains how to get started locally with the project. It's most likely relevant if you're trying to work on the project. First, let's work with the codebase and its dependencies.
# Get the code!
git clone git@github.com:JhumanJ/OpnForm.git && cd OpnForm

# Install PHP dependencies
composer install

 # Install JS dependencies
cd client && npm install

# Compile assets (see the scripts section in package.json)
npm run dev # or build
Now, we can configure Laravel. We just need to prepare some vars in our .env file, just create it with cp .env.example .env then open it!
Configure the desired database in the DATABASE_ section. You can fine tune your installation on the laravel documentation.
Run these artisan commands:
# Generate needed secrets 🙈
php artisan key:generate
php artisan jwt:secret # and select yes!

# Creates DB schemas
php artisan migrate
Now, create an S3 bucket (or equivalent). Create an IAM user with access to this bucket, fill the environment variables: AWS_ACCESS_KEY_ID, AWS_SECRET_ACCESS_KEY, AWS_DEFAULT_REGION, AWS_BUCKET. In your AWS bucket permissions, add the following under "Cross-origin resource sharing (CORS)":
[
    {
        "AllowedHeaders": ["*"],
        "AllowedMethods": ["PUT", "POST", "GET", "DELETE"],
        "AllowedOrigins": ["*"],
        "ExposeHeaders": []
    }
]
🎉 Done! Enjoy your personal OpnForm instance at: http://opnform.test.
One-Click Deployment

Tech Stack
OpnForm is a standard web application built with:
- Laravel PHP framework
- NuxtJs Front-end SSR framework
- Vue.js 3 Front-end framework
- TailwindCSS
Contribute
You're more than welcome to contribute to this project. We don't have guidelines on this yet, but we will soon. In the meantime, feel free to ask any question here.
License
OpnForm is open-source under the GNU Affero General Public License Version 3 (AGPLv3) or any later version. You can find it here.